Key takeaways
- A bimetal thermometer uses two bonded metals with different thermal expansion coefficients.
- The strip is wound into a helical coil in the stem; its rotation turns the pointer shaft.
- It is fully mechanical, needs no power and is classed for accuracy under EN 13190.
- The sensing coil sits in the lower part of the stem, so correct immersion decides accuracy.
Pumps, heat exchangers, tanks and utility lines all need a local temperature reading that works without power or wiring. The bimetal thermometer is the usual answer: a simple dial thermometer that relies on how metals expand with heat.
This guide explains the working principle, the specifications that matter and how to install and check one. SWME supplies temperature gauges and thermowells for process plants across the GCC.
In this guide
Bimetal Thermometer Working Principle
As Tameson explains, a bimetallic strip consists of two different metals with different coefficients of thermal expansion, typically steel and copper, or steel and brass. When the temperature changes, one metal expands more than the other, so the bonded strip bends. WIKA describes how this mechanical deformation is converted into a rotary movement and passed to the pointer through the pointer shaft.
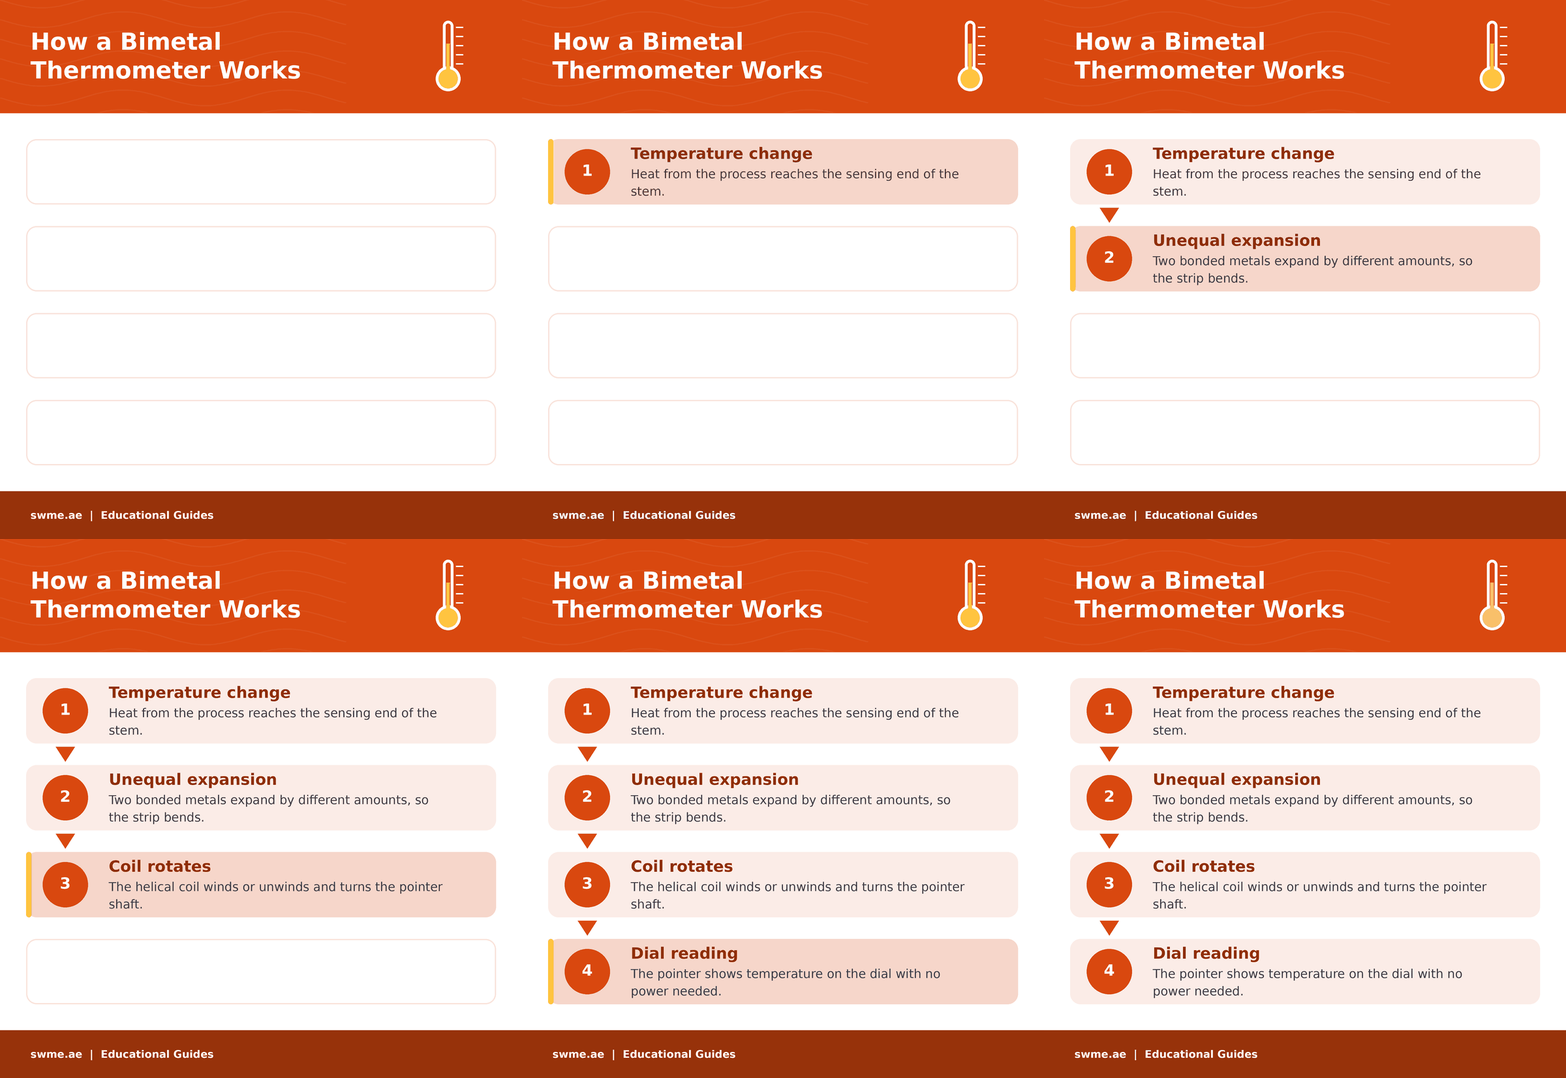
Helix and Spiral Coils
Because the coil turns a shaft directly, the reading can only be shown at the measuring point. WIKA notes that gas actuated thermometers, by contrast, can use remote capillaries up to 60 metres long. For remote signals, see how an RTD works or our temperature transmitters.
Ranges and Accuracy
| Item | Typical value | Source |
|---|---|---|
| Scale ranges | Minus 70 to 600 °C | WIKA |
| Accuracy classes | Class 1 and Class 2 to EN 13190 | WIKA |
| Class 1 / Class 2 | 1% / 2% of full scale | Centro |
| Silicone filled case | Maximum 250 °C | WIKA |
| Dial sizes | 2 to 5 in, 3 in most common | Centro |
| Stem lengths | 2.5 to 12 in | Centro |
For example, on a 0 to 400 °F dial, Centro shows Class 1 as plus or minus 4 °F and Class 2 as plus or minus 8 °F. Work out your own tolerance with the instrument accuracy calculator.
Did you know?
Liquid filling is not only for looks. WIKA explains that a silicone oil fill damps vibration on pumps and compressors, but it limits the maximum temperature to 250 °C.
Installation Tips
- Immerse the coil. The active element sits in the lower 1.5 to 2 in of the stem; Centro gives a minimum immersion of half the pipe bore plus 1 in.
- Use a thermowell. A thermowell lets you remove the thermometer without shutting the line, at the cost of slightly slower response.
- Pick the mounting. Back, bottom or every angle connections suit pipe tees, vertical runs and panels.
- Size the range. Centro suggests a scale of about 1.5 to 2 times the expected process temperature, so readings sit mid scale.
- Mind vibration. Use a liquid filled case where pipework vibrates.
Thermowell lag is part of the response time; estimate it with the sensor response time calculator.
Checking Calibration
Tameson describes the ice point method. Fill a glass with ice, add cold water and wait 4 to 5 minutes. Insert the stem without touching the glass and wait for the pointer to settle; it should read 0 °C. If not, many models allow adjustment with the nut under the dial. In addition, rough handling can disturb calibration, so check after any knock. Instrumentation Blog covers temperature gauge calibration in more detail, and the calibration error calculator helps record the results.
Common Mistakes to Avoid
Frequently Asked Questions
Does a bimetal thermometer need power?
No. It is fully mechanical; thermal expansion moves the pointer directly.
How accurate is a bimetal thermometer?
EN 13190 Class 1 and Class 2 units are typically within 1% or 2% of full scale.
Why does the stem need full immersion?
The bimetal coil sits in the lower part of the stem, so that part must be in the process fluid to read correctly.
